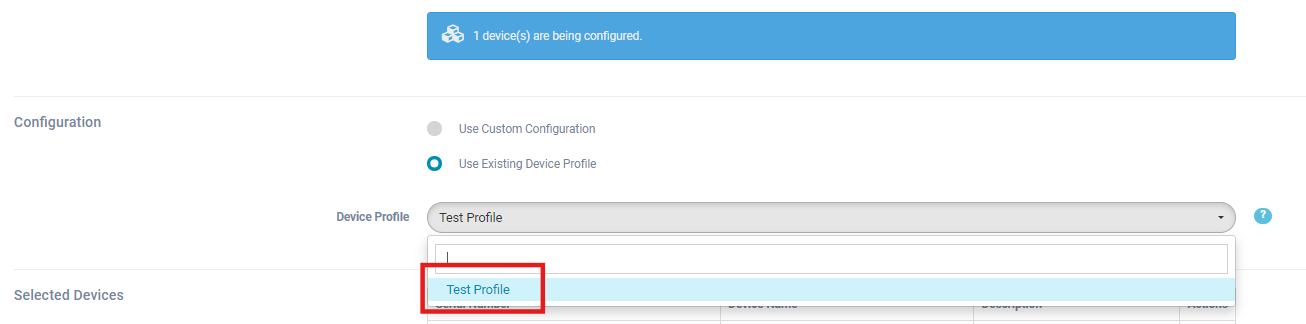
Within the device configuration, the user can choose between user-defined settings or preset profiles. Preset Device Profiles are particularly useful if the same configurations are required for several devices.
The desired device settings can be made via Add New Profile. The steps for creating a profile are equivalent to the configuration of Add New Device.
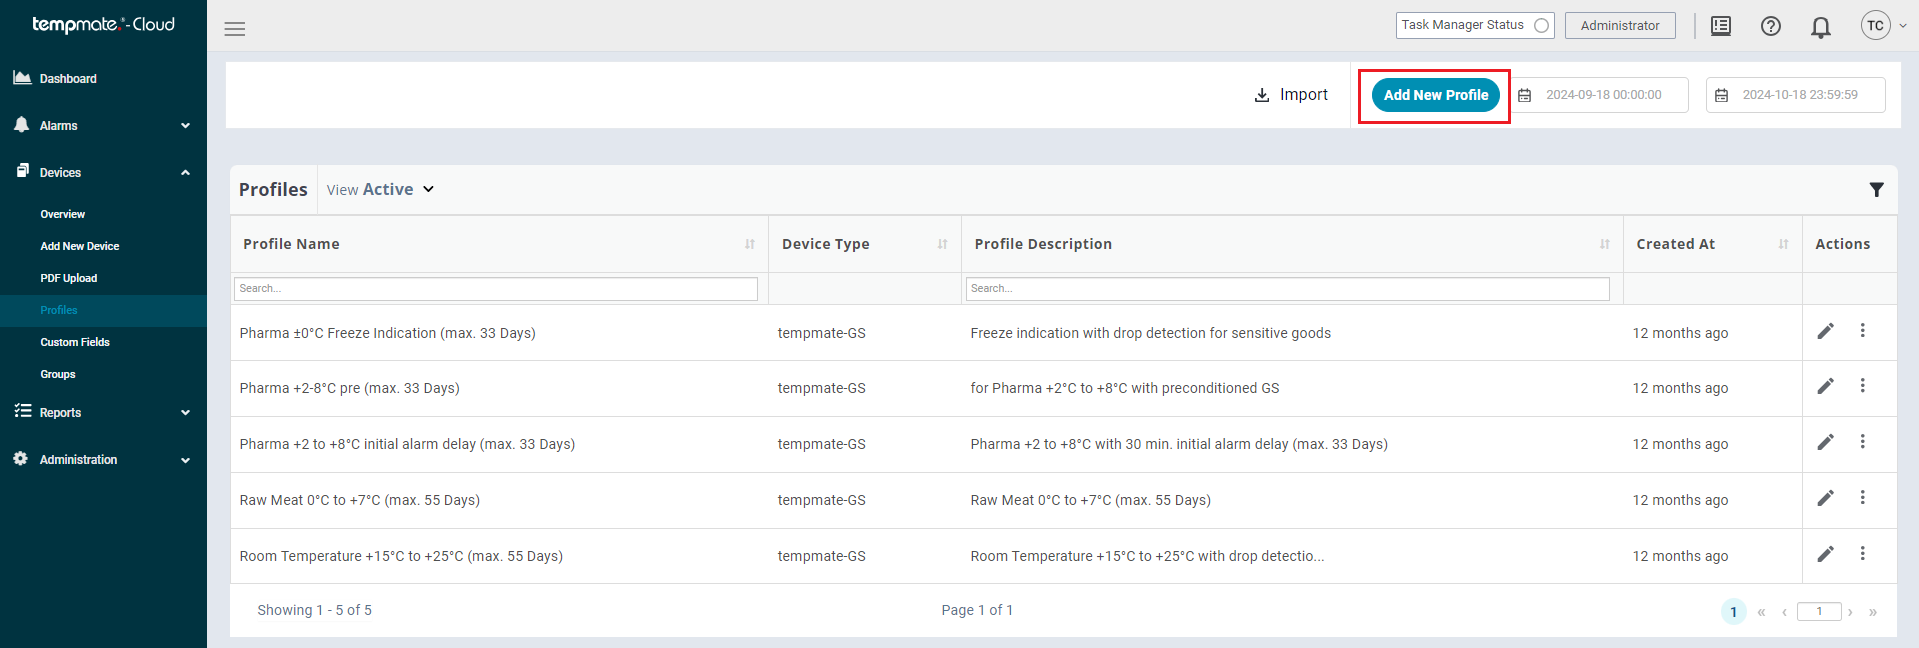
1. The most important step at the beginning is to determine for which device a profile is to be created. Depending on whether the default settings are to be made for a tempmate-GS2 or tempmate-GM2, there may be differences in the next stages.
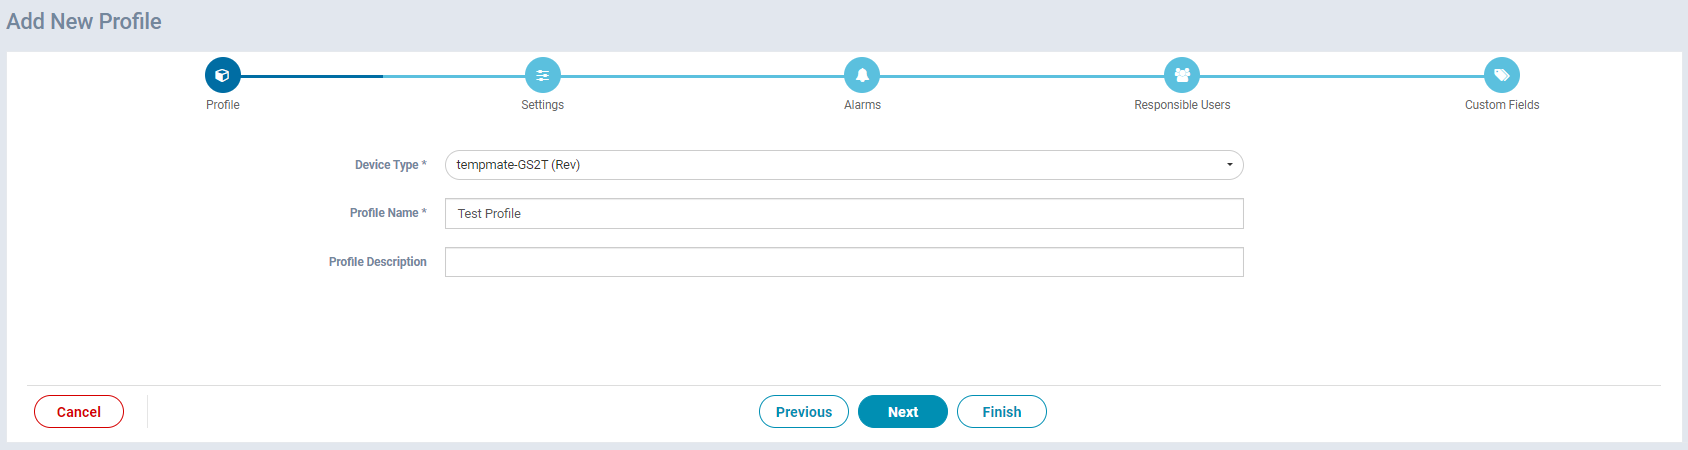
2. Numerous settings that can be made on tempmate real-time data loggers in order to adapt them to as many use cases as possible.
Start Delay: A Start Delay can be set if, for example, initial temperatures from environments that are not the application environment could falsify the values.
Intervals: Furthermore, it is of course essential to set the Log Interval and the Transmission Interval. The Log Interval describes the time interval at which the data, such as temperature or humidity values, are recorded. The time interval at which the data is finally transferred to the cloud is determined by the Transmission Interval.
While setting these two time intervals, the tempmate cloud provides a rough estimate of the operating time of the device, which adjusts as the values change.
Note: The transmission interval is mainly decisive for the operating time.
It should also be noted that, even if indicated otherwise, the operating time cannot exceed the usual runtime for single-use devices.
Further Options: It is also possible to adjust the Time Zone, select the desired Stop Mode and settings for the Flight Mode.
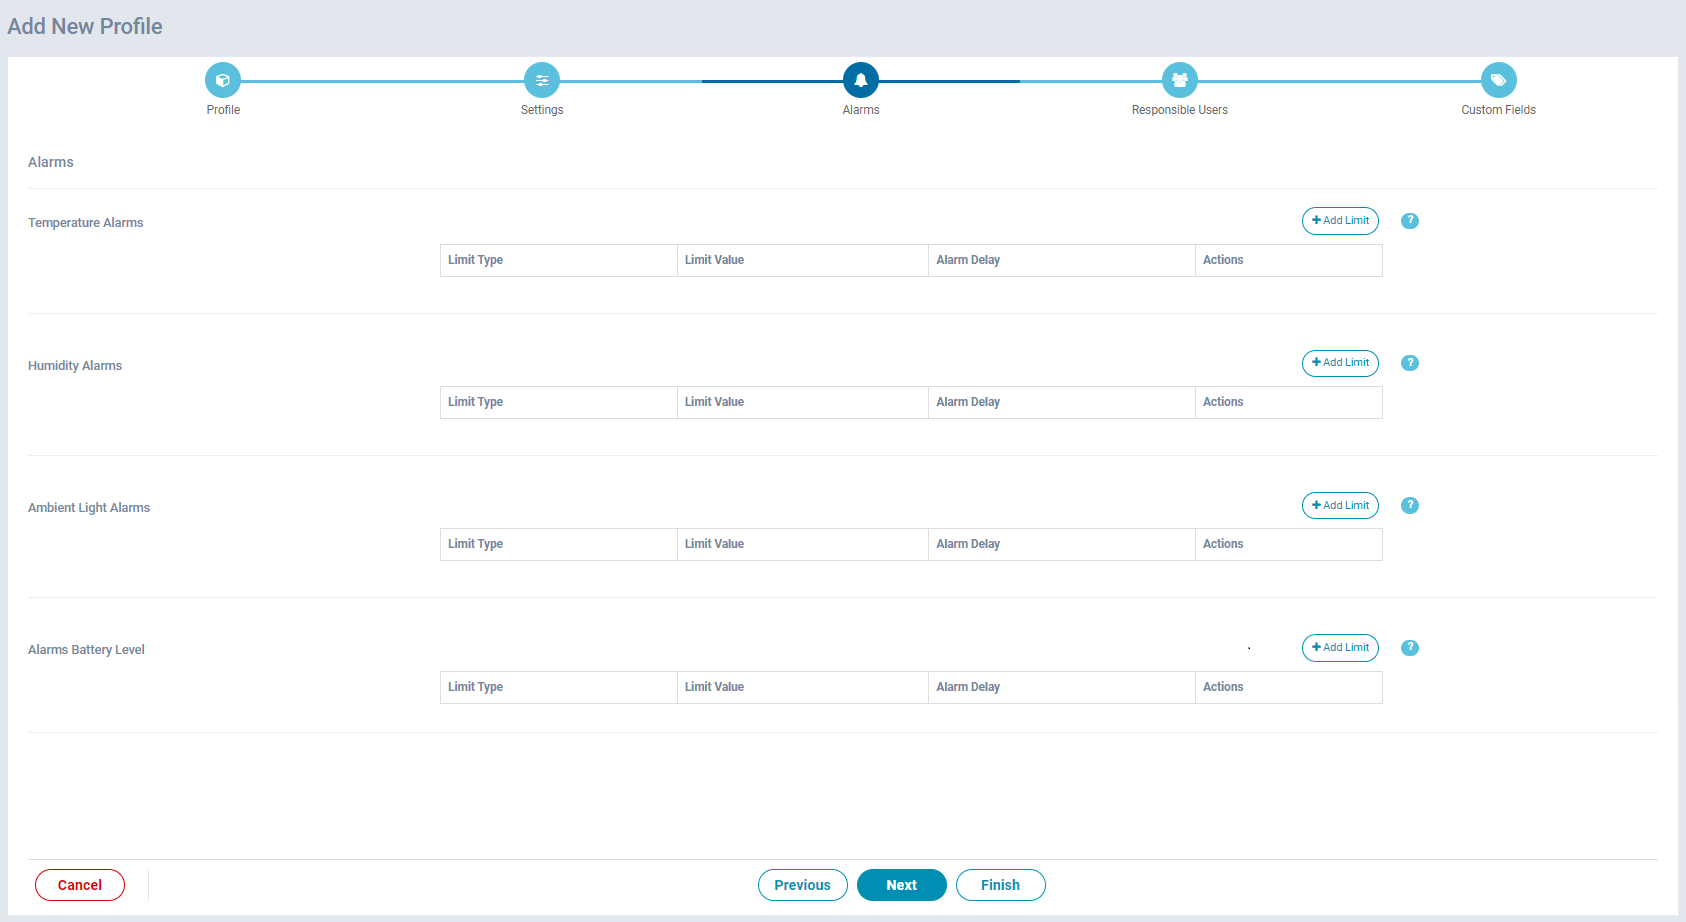
3. One of the most important functions of the tempmate real-time data logger is the immediate notification of the user in the event that alarm limits are exceeded or undercut. In this step, all alarm limits that are important for the device can be set.
Setting up an alarm: Clicking on Add Limit opens a small pop-up window where the respective alarm can be configured.
Single and Cumulative Alarms: Notifications for Single Alarms are triggered directly at the next transmission interval. Cumulative Alarms, on the other hand, only send notifications as soon as the measured value is outside the acceptable measuring range for a certain period of time.
Alarm thresholds can be set for almost all sensors installed in tempmate data loggers. You can see exactly how many threshold values can be set for each sensor by clicking on the small question mark symbol next to Add Limit.
Note: As we have selected a profile for a GS2 in this example, we cannot make any default settings for Tilt or Shock. However, if the tempmate-GM2 is selected, additional alarms can be configured for these two settings:
Shock Indicator Alarm: The shock sensor on GM2 can be used to detect the state of goods falling from different heights. Please refer to the following table for the corresponding threshold and detected heights. For example, when the shock threshold is set to 2, it can detect goods falls from heights of 30cm or more. The range of the threshold is from 0 to 8, 0 indicates that shock detection is turned off.
Note: The Shock Inidcator is not equivalent to G-forces.
Tilt Alarms: Can be switched on and off and provide information on whether the goods/package to which the device is attached has been tipped over.
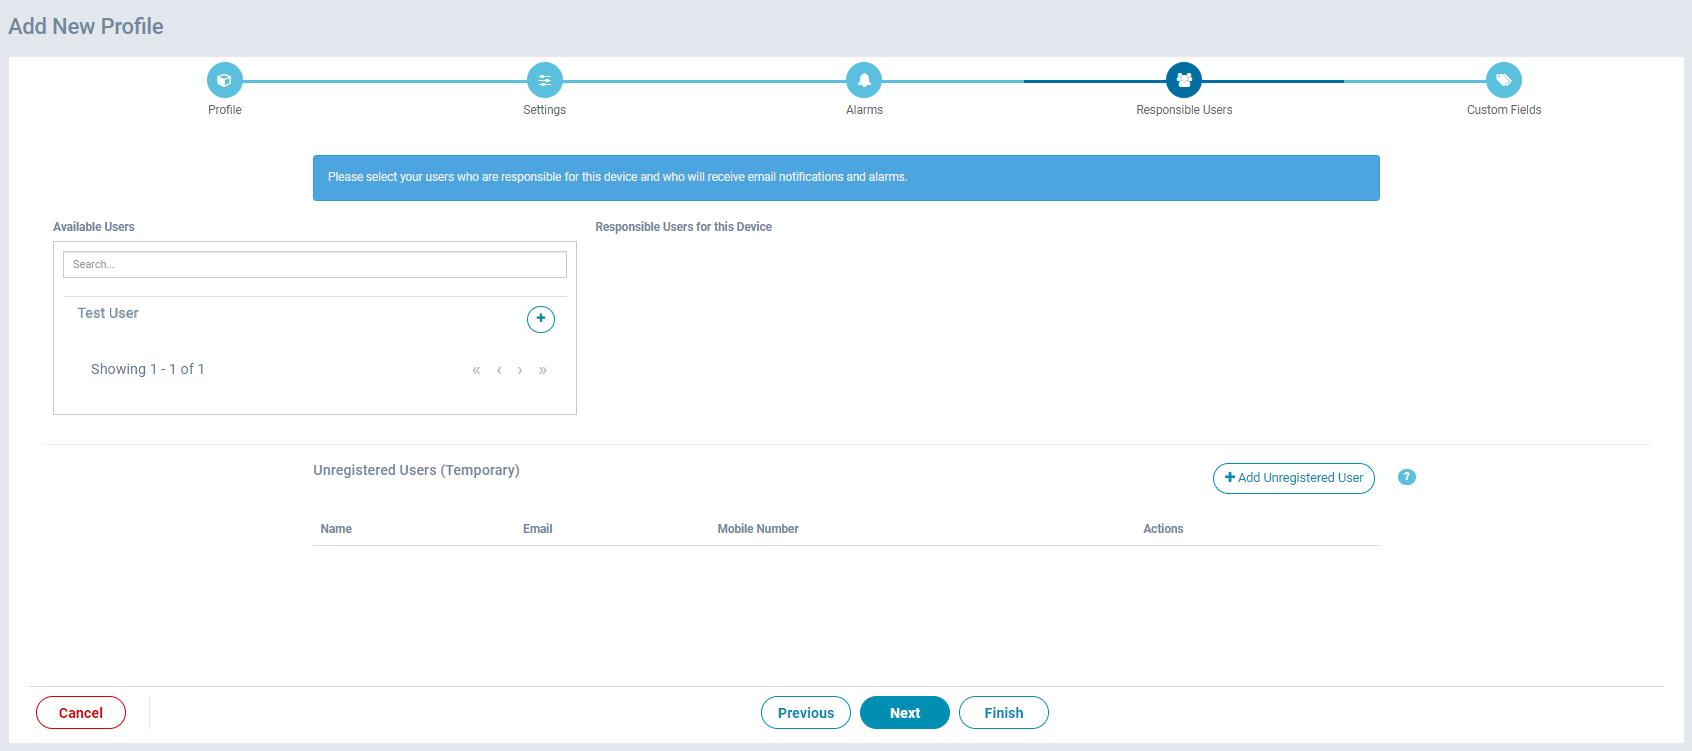
4. Of course, notifications of triggered alarms should also reach the right people. To do this, the responsible persons must be selected in this step. These can be existing users of the relevant account or external contacts.
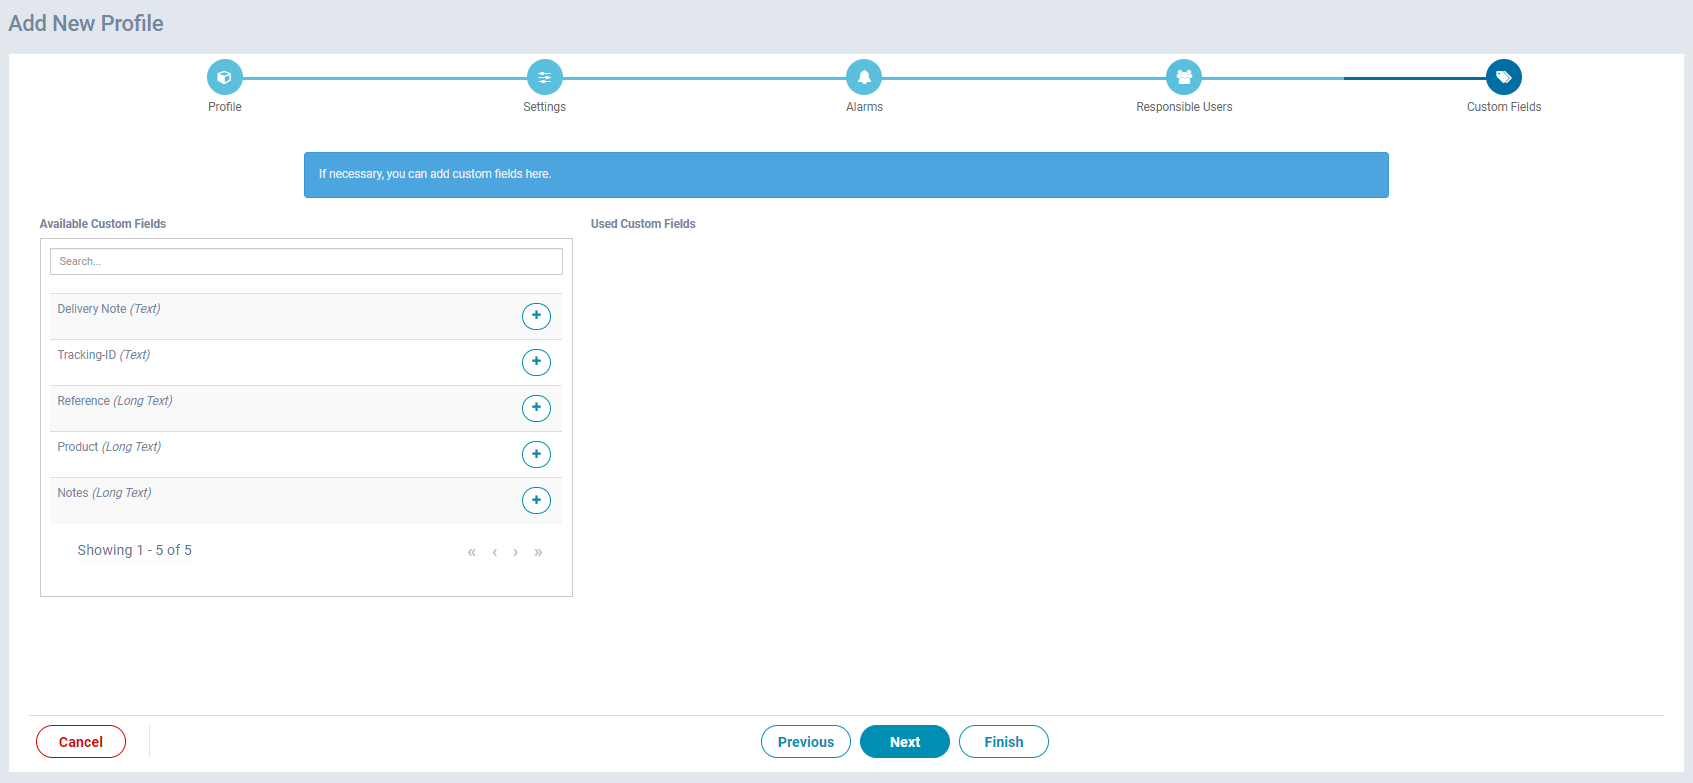
5. If our extensive data in the tempmate cloud does not yet cover all the information required for the supply chain evaluation, additional custom fields can be added, making the use of the tempmate cloud even more individualized
How exactly custom fields are created can be seen under Custom fields.
If a new tempmate data logger is now to be added to the device overview, the device profile that has just been created can be selected and the entire configuration is adopted for this data logger.